
When a visitor comes to a website, the content of the website as well as the design of the website is targeted and when the design of the content of the website is understandable or easily mastered by the visitor, the visitor follows the website and you get a permanent visitor.
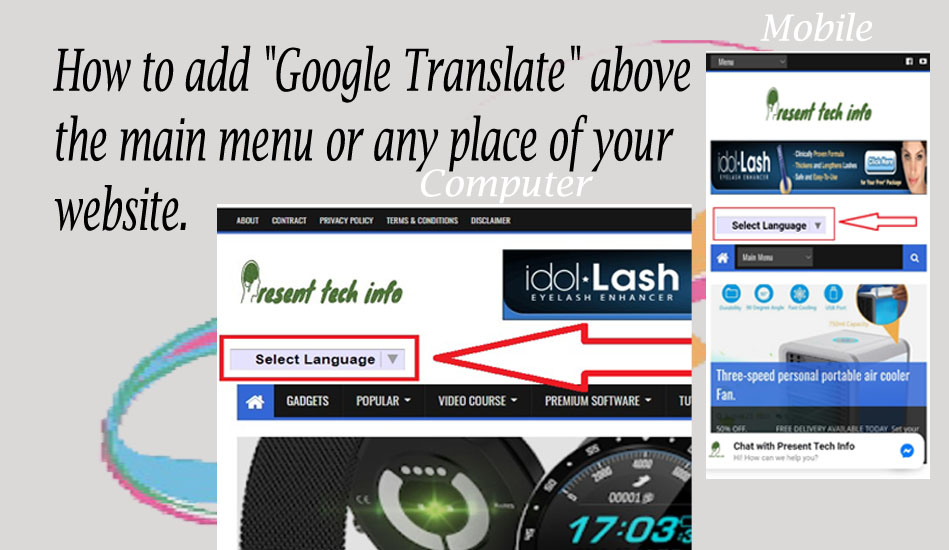 |
| Add Custom Google translate |
If Google Translate is installed on your website, visitors can at any time translate your website in their own language to understand your content.
As a result, the visitor will be interested in visiting your website in the future and will definitely subscribe to your website if your content is useful.
For this reason, just as you get the visitors from all over the world and they also to be permanent.
Let's see, how to install Google Translate button on the website.
Usually Google Translate button we can install in a few places on the website. It can be done in two ways. One of these methods is simple and the other will be a little difficult for the general blogger to do through HTML. Although this method is little difficult, I would suggest those, who have some idea about HTML to adopt this method.
1. First let's talk about the simple method.
In this way we can add Google Translate to the "sidebar" or "footer" of Blogger.
≻ The easiest way is to first open Blogger's admin panel and then go to the "layout" option.

≻ Then you have to click on the "add a Gadget" option in the place where you want to add "Google Translate" in your layout.

≻ You have to select the "translate" from the gadget options.

≻ Now you have to type the "title" of the gadget and select any option you like in "style" and save it.

≻ Now that, you need to "save" the theme.

The first and easiest method is done.
2. Second Method.
Although the second method is a bit difficult than the first method, it will be the best method for those who understand HTML and CSS lightly.
Because if you install Google Translate in this way, you can show it anywhere you want. This is the way, for the visitor easily to see the "Google Translate" option to help to translate it into their own language.
In the video below, I have shown how to install Google Translate by this method in a very simple way. If you can watch the video and put the "coding" below in the right place, you can install "Google Translate."
HTML Code:
Step 1. Copy these code(Use the Copy button below) and paste between <head> and </head> . I placed it above the </head> .
Step 2. Copy these code(Please select these code manually) and paste where you want to show "Google Translate" button. I placed it above the main menu.
CSS Code :
Step 3. You need to generate CSS code about which design you like, and which look at pretty. Then you need to add after CSS design data code.
( I recommend you to see the video which embed above . )
≻ My used Code(If needed Please select these code manually)


